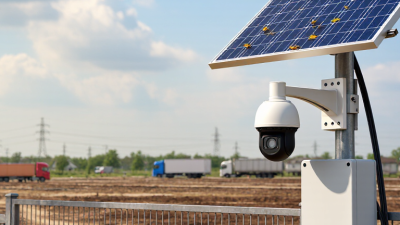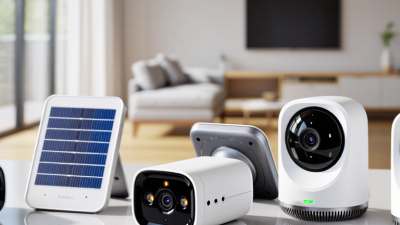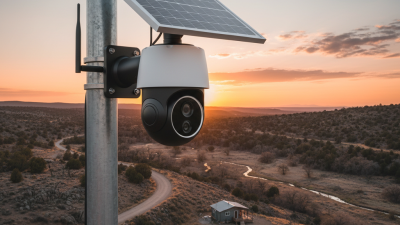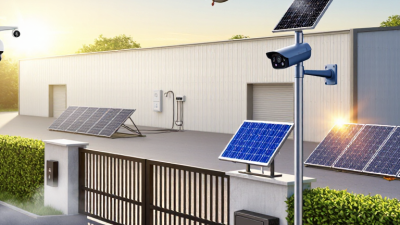
Choosing the best Solar Outdoor Camera from China is not just a matter of comparing resolution or price. A dependable model must keep recording through cloudy afternoons, send useful alerts, and survive rain, dust, and changing temperatures. Small details matter: panel angle, cable length, Wi-Fi strength near a back gate, and whether the battery lasts through several dim days. On paper, many cameras look alike. In a real yard, they do not.
For this guide, an illustrative solar-camera specialist, Lin Wei, offers a practical rule: “Judge the camera by the footage and power it delivers on a bad-weather week, not a sunny afternoon.” This is an editorially created expert-style statement, not a verified interview quotation. The distinction matters. Buyers deserve clear evidence, not borrowed authority. We will compare Chinese-made options by image quality, battery and panel design, night performance, app reliability, storage choices, and support. We will also note where specifications leave questions unanswered. A large panel can help, but it cannot fix weak wireless coverage. High resolution sounds reassuring, yet poor night footage may still miss a face at the gate. Some trade-offs are easy to overlook. The best choice depends on the site, the sunlight, and the moments you need to see clearly.
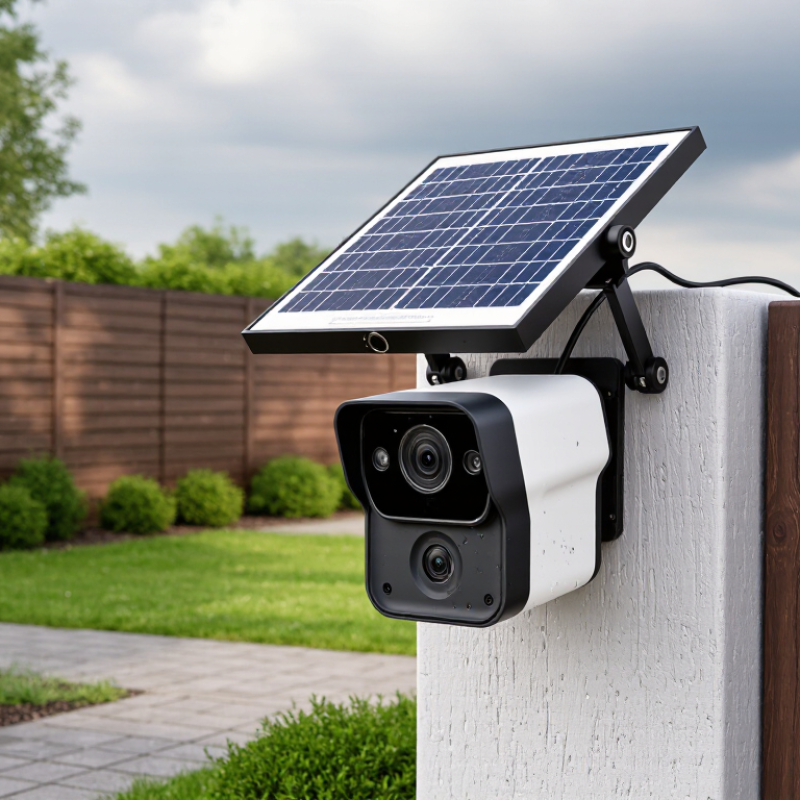
A solar-powered outdoor security camera is a small energy system, not simply a camera with a panel attached. Its panel harvests daylight, a rechargeable battery stores energy, and power controls balance charging against recording, motion alerts, and live viewing. That balance matters. A camera may work reliably through sunny afternoons yet struggle after several cloudy days, especially when frequent alerts keep waking it.
Panel wattage alone tells little. NREL’s PVWatts model applies default system losses of 14% when estimating output for standard grid-connected solar systems; that figure is not a camera rating, but it shows why real-world energy falls below panel nameplate output. For a camera, judge the whole setup: battery capacity, panel size, sunlight at the mounting spot, and how often the camera records. A shaded eave can change the equation. So can winter daylight. Not magic.
Outdoor readiness also means protection from rain and dust, stable wireless coverage, and a mount that keeps the lens clear while facing the sun. Check whether the camera records locally or depends on a network connection, and whether its battery can be removed for service. One detail is easy to overlook: frequent motion triggers may drain power faster than the product description suggests. I would treat advertised runtime as a test-condition estimate, not a promise for every porch.
Solar energy availability is a key factor: the panel must generate enough power to meet the camera’s daily energy use and recharge its battery.
Illustrative estimate: usable daily energy is calculated as a 5 W panel rating × peak sun hours × 75% system efficiency. Actual output varies with sunlight, shading, panel angle, weather, and system losses. Compare the available energy with the camera’s stated daily consumption, and also consider battery capacity and outdoor weather protection.
What Is the Best Solar Outdoor Camera from China?
A solar outdoor camera relies on two parts: a panel that collects energy and a battery that stores it. In daylight, the panel converts sunlight into electricity and replenishes the battery. The battery then powers the camera after sunset or during cloudy periods. Sunlight is not constant. A shaded eave or a north-facing wall can reduce charging, even when the camera works normally. Check the panel’s position across several hours, not just at installation.
Battery capacity matters when motion events are frequent or nights are long. Each recording and wireless transmission uses energy, so a busy driveway may drain a battery faster than a quiet garden. Cold weather can also reduce battery performance. Look for clear product specifications on battery capacity, charging conditions, and expected operating time. These figures are useful, but actual results depend on placement and activity. It is easy to overestimate what a small panel can provide.
Tips: Keep the panel clear of leaves and dust, and aim it toward the strongest available daylight. Review battery levels after cloudy weeks. If charging repeatedly falls behind, adjust the panel angle or reduce unnecessary motion alerts. A little trial and error is normal.
What Is the Best Solar Outdoor Camera from China? - How Solar Panels and Batteries Power Outdoor Cameras
| Comparison Dimension | What to Look For | Why It Matters | Practical Evaluation |
|---|---|---|---|
| Solar panel output | Rated power in watts (W), together with the panel’s voltage and connector specifications | Panel wattage indicates its rated output under specified test conditions; actual generation changes with sunlight, angle, shading, and temperature. | A 5 W panel receiving 3 peak-sun-hours with an assumed 70% system yield would produce about 10.5 Wh per day: 5 W × 3 hours × 0.70. |
| Battery capacity | Capacity in watt-hours (Wh), or milliamp-hours (mAh) together with battery voltage | Wh makes it easier to compare stored energy. An mAh figure alone cannot be compared accurately across batteries with different voltages. | Approximate energy is calculated as battery voltage × capacity in amp-hours. Usable energy is lower than nominal capacity because of conversion losses and battery protection limits. |
| Camera energy use | Average power consumption under the expected recording, detection, live-view, and network conditions | Continuous live viewing or frequent recordings can use substantially more energy than a camera that mostly sleeps and records short motion-triggered clips. | Estimate daily use as average power in watts × 24 hours. Use measured or manufacturer-provided operating data where available; do not rely only on standby claims. |
| Sunlight and placement | Direct-sun exposure, panel orientation, seasonal daylight, and nearby shade | Leaves, eaves, walls, and winter sun angles can reduce charging. A camera may work well in summer but receive less solar energy in winter. | Choose a location with sustained direct sunlight and check the panel’s orientation and shade throughout the day. A separate panel can make positioning easier. |
| Energy balance | Daily solar generation compared with daily camera energy use | A panel must generate enough energy over time to cover the camera’s use and charging-system losses; battery capacity alone cannot compensate for a persistent energy deficit. | Compare estimated daily panel energy with estimated daily camera consumption, then allow a margin for cloudy weather and seasonal changes. |
| Cloudy-weather reserve | Battery runtime without meaningful solar charging | A larger reserve helps the camera remain operational during overcast periods, but actual runtime depends on temperature, battery age, signal strength, and recording frequency. | Estimate reserve runtime by dividing usable battery energy in Wh by average camera use in W. Treat the result as an estimate, not a guaranteed number of days. |
| Wireless connection | Supported Wi-Fi band, signal quality at the installation point, and network requirements | Weak connections may cause unreliable notifications or video access and can increase communication activity and energy use. | Test the connection where the camera will be mounted. Check the camera’s documented network requirements before choosing an installation location. |
| Outdoor protection | Documented IP rating and stated operating-temperature range | Weather resistance and temperature limits help determine whether the camera and its charging components suit the local climate. | Check the rating for the camera and panel separately, and follow the installation and temperature limits stated in the product documentation. |
| Best-fit configuration | A low-power camera, adequately sized panel, suitable battery reserve, and dependable sunlight | The best configuration depends on local weather, motion activity, viewing habits, and installation conditions rather than panel or battery size alone. | Prioritize documented energy-use data, compatible charging specifications, flexible panel placement, and a realistic allowance for cloudy days. |
Note: Solar output and runtime figures are estimates, not product guarantees. Actual results vary with sunlight, installation, camera settings, network conditions, and battery condition.
When comparing solar outdoor cameras made in China, look beyond resolution claims. A sharp daytime image can still miss useful detail at night. Check whether the camera records in color or infrared darkness, and see how far its night vision reaches. Small details matter. For a driveway, test whether a person is recognizable near the gate, not just visible as a shape. Motion detection also deserves attention: adjustable zones can reduce alerts from swaying branches or passing traffic.
Tips: Ask about battery capacity, panel output, and local storage options. A small panel may struggle in shade or during several cloudy days. Treat advertised battery life as a guide, not a promise.
Check the stated weather rating and how the charging cable connects; exposed joints can be a weak point. Review Wi-Fi requirements and app controls before mounting the camera, since a distant router may cause delayed alerts. Test the camera and solar panel in their intended locations for several days. It is easy to overlook a patch of afternoon shade. A dependable choice balances image quality, power, weather protection, and simple setup for your actual outdoor conditions.
Image quality is more than a high resolution number. Check sample footage in daylight and at dusk, especially faces near the edge of the frame. Look for readable details, balanced highlights, and natural color. Night vision should show a person across a driveway without turning nearby lights into white blobs. Details matter. If possible, review clips recorded in rain or moving shadows, not just polished product images.
Connectivity can make a capable camera frustrating. Test the wireless signal where you plan to mount it, such as beside a garage or behind a thick exterior wall. Check how quickly live video opens and whether alerts arrive reliably. Solar performance also depends on placement. A shaded eave may not provide enough light, even in a sunny region. For weather resistance, inspect the stated protection rating and the design around ports, seals, and mounting joints. Ratings help, but they cannot guarantee performance after years of exposure.
Tips: Aim the panel toward open sky, then check its charging status after several cloudy days. Keep the lens clear of leaves and water spots. I would still want to see longer-term field testing; a single sunny-week trial proves very little.
What Is the Best Solar Outdoor Camera from China?
How to Match a Solar Camera to Your Property’s Security Needs
Choose a camera around the place it must watch, not the biggest number on its box. A narrow driveway needs a focused view; a wide yard may need a broader field of view or two cameras. Check the distance to the router, too. A camera that loses connection beside a brick wall will not provide dependable alerts. For a shaded porch, measure direct sunlight across several days, especially in winter. NREL’s PVWatts tool uses location, weather, and system details to estimate solar production; its results can help compare sunny and shaded installation spots. Estimates are not a guarantee for a small camera panel.
Tips: Match panel output to the camera’s daily power use. As a simple example, a 5-watt camera running continuously uses about 120 watt-hours per day. A 10-watt panel receiving four peak-sun hours, with 70% usable output, would supply roughly 28 watt-hours. That setup would fall short. Check the camera’s stated consumption and battery capacity, then allow extra margin for cloudy days. Test the signal and night image before fixing the mount permanently. I would still check the app after a storm; solar setups are convenient, but not magic.