Leave Your Message
Phone
E-mail
Whatsapp
Whatsapp

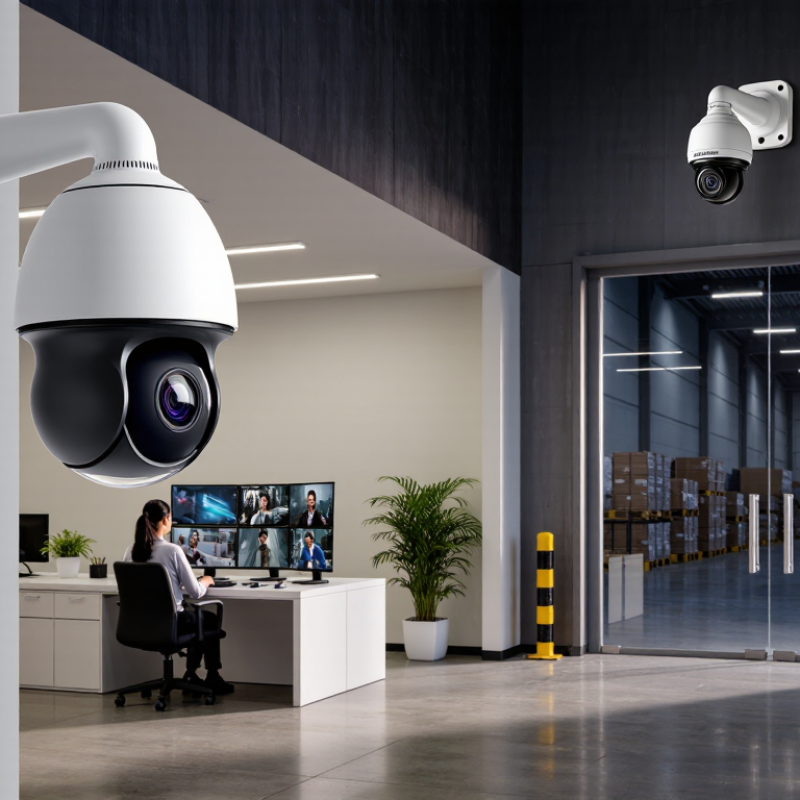
Choosing the best Surveillance Camera is not simply about buying the sharpest image or the lowest price. A reliable choice begins with the location, lighting, movement, and security purpose. A camera above a dim warehouse door needs different features than one watching a bright reception desk. Night vision, weather resistance, viewing angle, storage, and network stability all deserve careful attention.
Bruce Schneier, a respected security technologist, said, “If you think technology can solve your security problems, then you don’t understand the problems and you don’t understand the technology.” His warning fits Surveillance Camera selection well. A camera cannot replace thoughtful placement, regular maintenance, trained users, or clear privacy practices. It may record a face clearly, yet miss the wider context. That matters.
The ten tips in this guide examine practical decisions before installation. They consider image quality, low-light performance, motion detection, audio, data storage, cybersecurity, and long-term costs. They also encourage responsible use, including appropriate access controls and respect for local privacy requirements. Small details count. A loose cable can ruin perfect footage. An attractive specification sheet can also hide weak performance in real conditions.
Some recommendations may not fit every property. That is the point. Choosing well requires testing, questioning, and sometimes changing your original plan. A dependable Surveillance Camera should support safety without creating unnecessary risks, expenses, or false confidence.
10 Tips for Choosing the Best Surveillance Camera?
Define Your Surveillance Goals and Coverage Requirements
Before buying surveillance cameras, define what you need to observe and why. The right choice begins with a clear coverage plan.
Walk through the property during daytime and evening hours. Mark entrances, loading areas, stairways, storage rooms, and other vulnerable points. Ask what each camera must capture: faces, vehicle movement, packages, or general activity. An entrance may need facial detail, while a hallway may only require motion awareness. A wide lens can cover more space, but it may reduce useful detail. Do not assume one camera can do everything.
I once reviewed a small office where three cameras pointed toward the same bright doorway. The footage looked sharp, yet faces became dark silhouettes. The doorway was covered, but the evidence was weak. That mistake was avoidable.
Coverage should include lighting changes, distance, height, and possible blind spots. At night, test the view with the lights off. Check whether glare, shadows, rain, or reflective surfaces affect visibility. A camera should face the area of interest, not merely the most convenient mounting point. Consider recording duration, motion alerts, and secure access for authorized users. Retention should match your operational needs and applicable privacy requirements. Keep it practical.
Review the plan with the people responsible for safety and daily operations. Document why each camera exists, what it covers, and what it cannot see. This record supports better decisions and reveals gaps before installation.
| Tip | Surveillance Goal | Typical Coverage Area | Recommended Camera Type | Practical Resolution Target | Lens and Field of View Guidance | Important Coverage Requirement |
|---|---|---|---|---|---|---|
| 1 | Observe general activity | Large rooms, warehouses, parking areas | Fixed wide-angle network camera | At least 1080p for ordinary overview footage | A 2.8–4 mm lens commonly provides a broad view; confirm the actual horizontal field of view before installation | Map blind spots and avoid aiming directly toward bright windows or reflective surfaces |
| 2 | Identify people at an entrance | Doorways, reception desks, access points | Varifocal bullet or turret camera | 4 MP or higher when the entrance occupies a limited part of the scene | Use a narrower, adjustable lens so the entrance fills more pixels instead of using an excessively wide view | Mount near face height or slightly above, while keeping the camera protected from tampering |
| 3 | Recognize vehicles and license plates | Driveways, gates, loading bays | Dedicated traffic or license-plate camera | Use a resolution and pixel density matched to the plate distance; 4K may be needed for longer approaches | Select a narrow field of view and fixed distance; wide-angle views reduce detail on distant plates | Control vehicle speed, camera angle, shutter speed, and infrared exposure to reduce motion blur and glare |
| 4 | Monitor activity in low light | Outdoor paths, yards, building perimeters | Low-light camera with infrared illumination or supplemental lighting | 1080p or higher, with a sensor tested in the actual night environment | Choose a lens that covers the target zone without exceeding the camera’s usable night range | Check night samples for noise, motion blur, overexposure, and infrared reflection from nearby walls |
| 5 | Cover a wide area with fewer cameras | Open courtyards, retail floors, intersections | Pan-tilt-zoom camera for active monitoring, or panoramic camera for continuous coverage | 4K or higher is useful when a broad scene must later be digitally cropped | Panoramic models can provide very wide coverage; PTZ cameras do not record every direction in detail simultaneously | Use fixed overview cameras for evidential coverage and PTZ cameras as a supplementary tracking tool |
| 6 | Detect motion or perimeter intrusion | Fences, restricted zones, side passages | Fixed outdoor camera with motion or analytics support | 1080p is often sufficient for detection, but detail requirements increase with distance | Aim across the expected path of travel rather than directly toward approaching subjects for better motion detection | Use weather protection, suitable mounting height, and activity zones to reduce false alerts from trees or traffic |
| 7 | Capture clear video of fast movement | Cash points, entrances, vehicle lanes | Camera with adjustable shutter and adequate frame rate | 1080p at 25–30 frames per second for many standard scenes; test higher rates for rapid movement | Use a controlled viewing angle and avoid placing the target at the extreme edge of the lens | Balance shutter speed with available light because faster shutter settings require more illumination |
| 8 | Maintain coverage in difficult weather | Exposed walls, rooftops, coastal or dusty locations | Outdoor-rated camera with sealed housing | Choose resolution based on the target detail, not only on environmental conditions | Use a sunshield and position the lens away from direct rain, snow, and reflected sunlight where possible | Verify the enclosure’s ingress-protection rating, operating temperature range, and corrosion resistance |
| 9 | Protect evidence from lighting extremes | Glass entrances, lobbies, sun-facing façades | Camera with wide dynamic range and exposure control | 1080p or higher, provided the sensor preserves detail in both bright and dark areas | Select a viewing angle that minimizes direct glare and reflections from glass or polished surfaces | Test the camera at different times of day; advertised dynamic-range performance may vary by scene |
| 10 | Preserve usable footage for review | Any monitored indoor or outdoor location | Camera compatible with a suitable recorder or secure storage system | Match resolution, frame rate, compression, and retention period to the investigation requirement | A narrower view can improve useful detail, while excessive resolution increases storage and network requirements | Estimate storage using camera count × bitrate × recording hours × retention days, then allow additional capacity for overhead |
Planning note: Actual coverage depends on mounting height, subject distance, lighting, lens selection, camera angle, image compression, and local privacy requirements. Test a camera at the intended location before completing the installation.