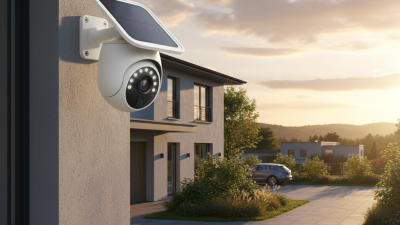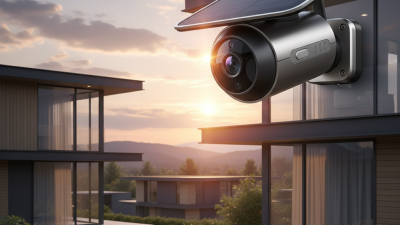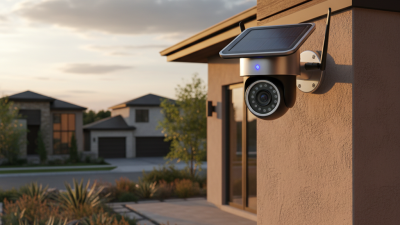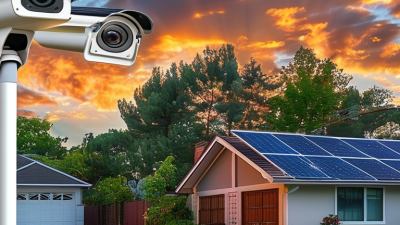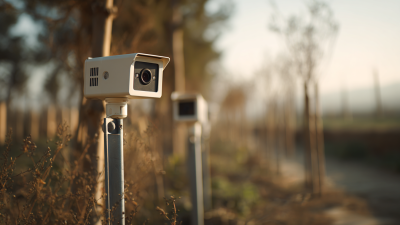
Solar Wifi Cameras promise flexible security where wiring is difficult. A camera above a garden gate can capture a delivery, monitor a shed, or show movement beside a remote driveway. Yet choosing one involves more than checking a solar panel and a low price. Battery capacity, Wi-Fi range, night vision, weather resistance, storage, and app stability can decide whether useful footage exists when needed.
This guide presents ten practical tips for comparing Solar Wifi Cameras in real conditions. It considers winter sunlight, shaded walls, weak router signals, and the delay caused by motion alerts. A small panel may recharge slowly under cloudy skies. A camera with clear daytime video may still produce blurred faces at night. Checking independent test details, warranty terms, privacy controls, and manufacturer support can reveal weaknesses that product photos hide. Standards and certifications also deserve attention, but labels should be verified rather than trusted automatically.
There is no perfect installation. A well-placed camera can miss activity behind a hedge, while a strong signal may require a safer mounting position. These trade-offs matter. The recommendations below combine common security practice with hands-on considerations, helping readers judge performance instead of chasing impressive specifications. Some advice may need adjustment for local weather and property layout. That is part of the decision. Reliable security begins with realistic expectations, careful testing, and regular maintenance after installation.
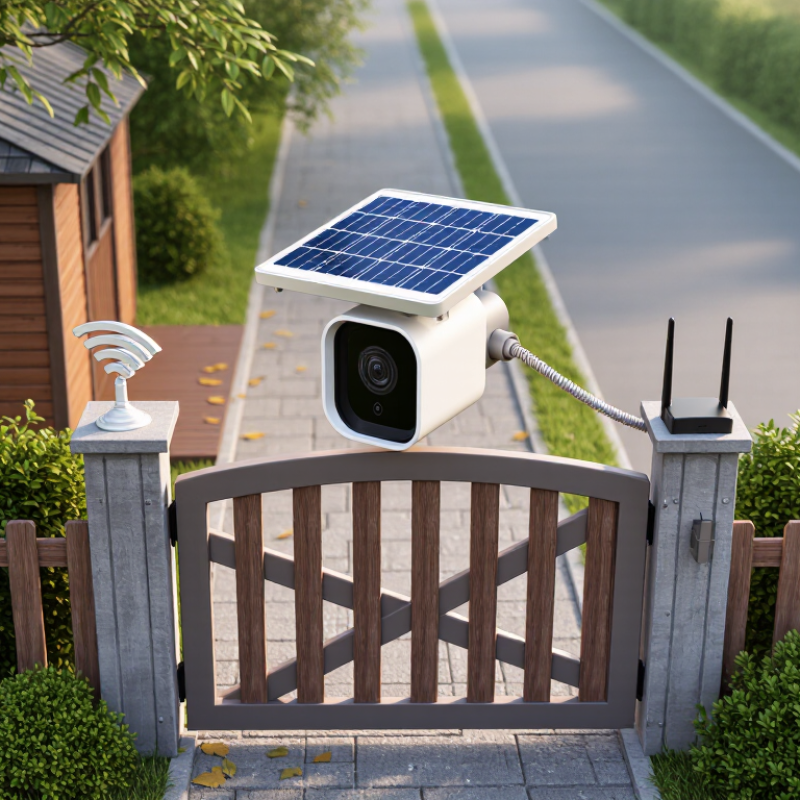
Before choosing a solar WiFi camera, define what you need to protect. A front door requires clear facial detail and reliable motion alerts. A wide garden may need broader coverage instead. Write down the areas, recording hours, and people who need access. Do you need live viewing, short event clips, or continuous evidence? Your answer affects storage, battery capacity, image quality, and notification settings.
Study the monitoring environment during both day and night. Thick walls, metal gates, and long distances can weaken WiFi signals. Walk around the property with a phone and check connection strength near each proposed camera position. Trees and roof edges may shade the solar panel for several hours. Winter sunlight can be weaker than expected. I once placed a panel where it looked bright at noon, but nearby branches blocked the afternoon light. That mistake reduced battery recovery.
Consider weather, temperature, and maintenance before installation. Choose a position that captures faces without pointing unnecessarily into private windows or neighboring spaces. Check local privacy and recording requirements. Set activity zones to reduce alerts from passing cars, moving plants, or pets. Test the camera for several days before relying on it. Review night footage, alert timing, and battery levels. Small problems appear quickly. They are easier to fix before permanent mounting. Reliable security comes from matching the camera to real conditions, not ideal product specifications.
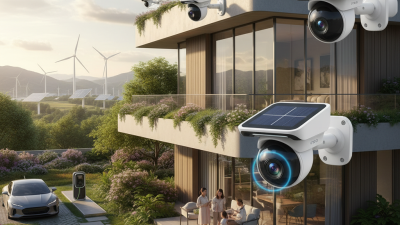
Solar panel size alone does not prove reliable camera performance. A practical energy check starts with daily consumption. A camera averaging 3 watts uses about 72 watt-hours daily. A 20-watt panel receiving four peak-sun hours produces 80 watt-hours before losses. With 75% system efficiency, usable output falls to about 60 watt-hours. That setup may fail during cloudy weeks.
NREL’s PVWatts guidance shows that shading, temperature, wiring, and inverter losses can significantly reduce photovoltaic output. Its model also emphasizes local solar conditions, not advertised panel ratings. Check the installation site at different hours. A tree that shades the panel briefly can still matter. The IEA PVPS Trends 2024 report recorded 456 gigawatts of new solar capacity worldwide in 2023, but large solar farms operate differently from small camera panels. Household assumptions need adjustment.
Battery performance deserves equal attention. Compare usable watt-hours, not only the stated capacity. Allow two or three days of autonomy for rain, dust, and winter sunlight. Motion alerts and infrared night vision can increase consumption sharply. Lithium batteries generally perform well, but low temperatures can reduce available capacity and restrict charging. A practical test is simple: cover the panel, activate night vision, and monitor runtime. The result may disappoint. That is useful evidence. NREL degradation research has reported approximately 0.5% annual output loss for many photovoltaic systems, so a small reserve today may disappear gradually. Recheck the calculation every year.
A solar WiFi camera is only as dependable as its connection. Check the signal beside the planned mounting point, not beside the router. Walls, metal roofs, trees, and wet weather can weaken coverage. The FCC’s Measuring Broadband America report shows that latency and reliability vary across access networks, even when advertised speeds look strong. A practical test should include daytime and nighttime checks. A stable signal matters more than a high peak speed.
Coverage is only half the decision. Estimate how much video the camera may upload each day. A compressed 1080p stream using about 2 Mbps can consume roughly 0.9 GB per hour. Motion-triggered recording uses less, but busy driveways can produce surprising traffic. Cisco’s Annual Internet Report projected 14.7 billion machine-to-machine connections by 2023, highlighting the pressure created by growing connected-device traffic. Review your service plan’s monthly allowance before installation. Cloud storage adds another variable.
Solar power also changes the calculation. Frequent uploads can drain a small battery during cloudy periods. GSMA Intelligence’s Mobile Economy 2024 report emphasizes rising mobile data demand, but local WiFi performance still depends on site conditions. I have seen “full bars” cameras disconnect behind one exterior wall. Signal bars can mislead. Record several days of connection logs, including rain and nighttime use. Then reduce motion zones, lower video quality, or add a compliant outdoor access point if the data estimate feels too optimistic.
| Tip | What to Check | Practical Requirement or Benchmark | Why It Matters | Recommended Action |
|---|---|---|---|---|
| 1 | WiFi Frequency | Confirm whether the camera supports 2.4 GHz WiFi. Dual-band support is useful when both 2.4 GHz and 5 GHz networks are available. | The 2.4 GHz band generally travels farther and passes through walls better, while 5 GHz can provide higher throughput over shorter distances. | Choose a camera compatible with the network frequency available at the installation point. Do not assume that every camera supports both bands. |
| 2 | Signal Strength at the Mounting Location | Aim for a stable signal of approximately -67 dBm or stronger for dependable video and notifications. | A weak signal can cause delayed alerts, dropped live views, repeated reconnections, and increased power consumption. | Use a WiFi analyzer on a phone at the planned camera position before installation. Test at different times of day if the network is busy. |
| 3 | Actual Coverage Distance | Indoor coverage is often around 30–45 m, while outdoor line-of-sight coverage may reach roughly 90–150 m, depending on conditions and equipment. | Walls, metal structures, trees, weather, interference, and antenna position can significantly reduce the advertised range. | Measure the real distance and obstacles between the router or access point and the camera. Leave a margin instead of designing for the maximum range. |
| 4 | Router or Access-Point Capacity | Check the router's client limit, wireless capacity, and current connected-device count before adding cameras. | Many connected devices compete for airtime. Congestion may reduce throughput even when the signal appears strong. | Use a separate access point or mesh node for distant cameras, and avoid connecting several high-resolution cameras to an overloaded router. |
| 5 | Required Upload Bandwidth | Allow approximately 1–2 Mbps per 1080p camera and about 2–5 Mbps per 2K camera, depending on compression and frame rate. | Cloud video uploads use the home's upstream bandwidth continuously or whenever motion is detected. | Test upload speed at the property, calculate the combined camera demand, and keep additional capacity for video calls and other users. |
| 6 | Monthly Data Consumption | A continuously streaming 1080p camera can use roughly 300–650 GB per month; motion-triggered recording may use far less. | Actual usage varies with resolution, bitrate, frame rate, motion frequency, recording schedule, and cloud-storage settings. | Check the internet plan's data allowance. Use motion-only recording, activity zones, or local storage where appropriate to reduce data usage. |
| 7 | Latency and Connection Stability | Look for consistent connectivity rather than speed alone; ping results below approximately 100 ms are generally more comfortable for live viewing. | High latency or unstable connections can make live video controls slow and delay notifications. | Test live streaming during peak network usage. Avoid placing the camera behind large metal objects or inside enclosed metal structures. |
| 8 | Solar Panel Exposure | Position the panel where it receives several hours of unobstructed sunlight daily; avoid shade from eaves, trees, and nearby walls. | Insufficient solar input can gradually drain the battery, especially during winter, cloudy weather, or frequent motion events. | Separate the camera and panel if the design permits, and angle the panel toward the strongest available sunlight while keeping the camera in the desired viewing position. |
| 9 | Power-Saving Recording Features | Prefer adjustable motion detection, activity zones, scheduled recording, low-power standby, and configurable video quality. | Every unnecessary recording or false alert increases battery use, WiFi airtime, and internet data consumption. | Limit detection areas to entrances, gates, and paths. Reduce frame rate or resolution when detailed identification is not required. |
| 10 | Backup and Recovery Options | Consider local storage, automatic reconnection, offline recording, battery status alerts, and an optional wired or cellular backup connection. | A WiFi outage or depleted battery can create gaps in surveillance if there is no fallback method. | Choose a storage and connectivity plan that matches the site's reliability needs, and enable low-battery and offline alerts before deployment. |
Planning note: Coverage, bandwidth, battery life, and data usage vary with building materials, weather, camera settings, network congestion, and motion activity. Test the installation location before final mounting.
10 Tips for Choosing Solar WiFi Cameras
Video quality matters more than a high resolution label. A 2K camera can still produce blurry faces if its bitrate is low or night exposure is poor. Check daytime detail, infrared clarity, motion handling, and backlit scenes. A practical test is simple: place a person near a gate at dusk, then review facial detail and license-plate readability. Cisco’s Annual Internet Report projected video would represent 82% of internet traffic by 2022, making efficient compression important for wireless cameras. H.265 can reduce bandwidth, but it may require compatible storage and software. WiFi strength also matters. A perfect sensor cannot repair a weak signal.
Smart features should reduce work, not create constant alerts. Look for person, vehicle, and area detection, then test them with pets, rain, moving branches, and headlights. False alarms remain a common weakness. I have found that adjustable detection zones are often more useful than extra alert categories. Solar performance deserves equal attention. Shade, winter daylight, and frequent live viewing can drain the battery faster than expected. Small panels are not magic.
Storage choices change both cost and reliability. A 2 Mbps stream uses roughly 21.6 GB daily before motion filtering. Local cards avoid recurring fees but need health checks and physical protection. Cloud storage offers easier remote access, yet depends on internet service and subscription terms. Sandvine’s 2024 Global Internet Phenomena Report identifies video as the largest downstream traffic category. That makes data usage worth checking carefully. I still prefer dual storage when evidence matters, though this adds complexity and expense.
Tip: Inspect the installation site before choosing a solar WiFi camera. A shaded wall may leave the battery weak by afternoon. Check sunlight, mounting height, signal strength, and access for cleaning. The camera should capture faces clearly without pointing into a neighbor’s private space. Use weather-resistant housing for rain, dust, and temperature changes. Cheap brackets can loosen in strong wind.
Tip: Treat durability as more than an impressive weather rating. Look for sealed ports, protected cables, and a stable mounting plate. I once underestimated tree movement near a camera. Branches repeatedly blocked the lens and reduced charging. Small details matter. Test the night image before permanent installation. Shadows can hide important areas.
Tip: Review privacy controls before connecting the device. Choose strong passwords, enable available encryption, and limit account access. Store recordings only as long as necessary. Follow local privacy requirements, especially when cameras cover entrances or shared spaces. Long-term maintenance also deserves attention. Clean the panel several times yearly, inspect screws, and test motion alerts. Dust is easy to forget. Batteries eventually lose capacity, and replacement costs may change the original value. A simple maintenance log can reveal problems earlier, although many owners never keep one.