Choosing the best Cctv Camera for your business starts with a clear question: what do you need to see, and when? A shop owner may need sharp detail at a bright checkout, while a warehouse manager may need useful images across a dim loading bay. These are different jobs. One camera rarely handles every view equally well.
This guide introduces the decisions that shape a practical CCTV system: coverage, resolution, lens type, low-light performance, storage, connectivity, installation, and ongoing maintenance. A higher resolution can capture finer detail, but it may also require more storage and bandwidth. A wide-angle view can cover more floor space, yet make distant faces appear smaller. Small details count. Think about glare from glass doors, shadows beneath shelving, and whether staff can reach a camera safely for cleaning. No specification sheet can answer every site-specific question. Test the view where the camera will actually be used.
Security technologist Bruce Schneier offers a useful principle: “Security is a process, not a product.” His reminder applies here: buying equipment is only one part of making a system dependable. Compare models against real business needs, ask installers how they plan to handle blind spots, and check how footage will be reviewed and maintained. Not quite sure yet? That is normal. A careful site assessment may reveal that fewer, better-placed cameras work better than a larger collection chosen in a hurry.
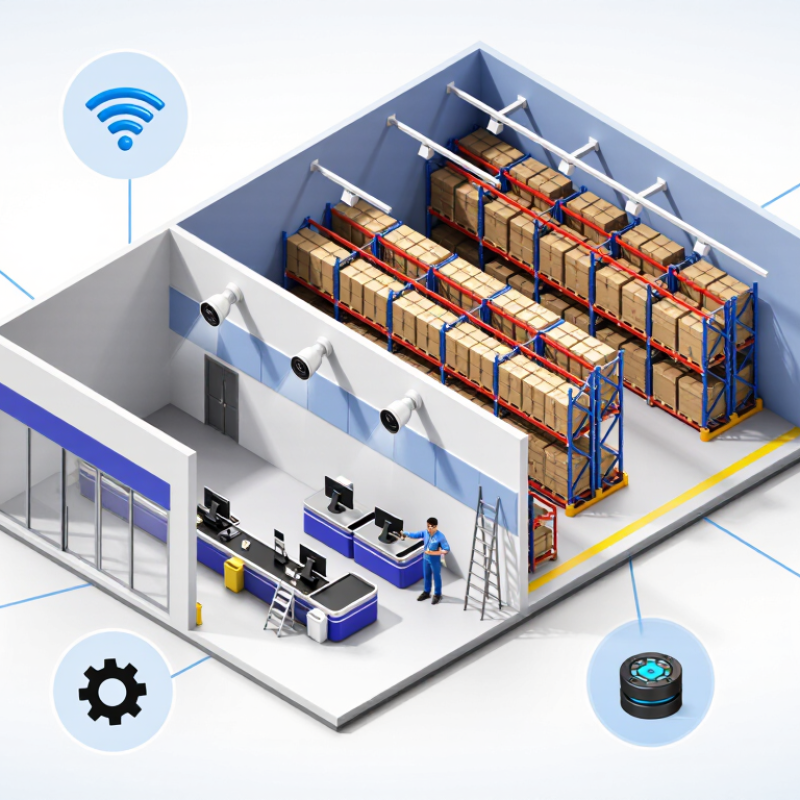
Before selecting a CCTV camera, map the areas your business needs to monitor. Walk through the site during opening and closing hours. Note entrances, checkout counters, storage rooms, delivery bays, and poorly lit corridors. A doorway may need a clear view of faces, while a car park needs wider coverage. Check the camera’s view from its planned mounting point. Shelves, signs, and open doors can create blind spots. Night conditions matter too; test how much detail remains under your actual lighting. Small details change the choice.
Tips: Sketch each area and mark what must be visible. Stand where the camera will go, then check whether people or equipment block the view. Include staff work zones, but avoid recording more than the security purpose requires. Keep the sketch; it can help installers spot gaps.
Match camera coverage to real risks, not the size of the building. A compact shop may need sharp detail at one entrance, while a warehouse may need broader views across several aisles. Consider who will review footage and how often. If no one can check a busy screen, more cameras may not improve security. I have seen plans miss a narrow side entrance because everyone focused on the front door. Revisit the layout after furniture or stock changes.
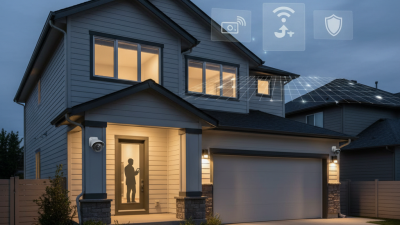
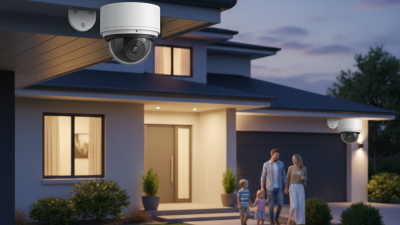
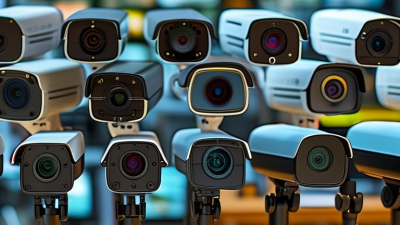
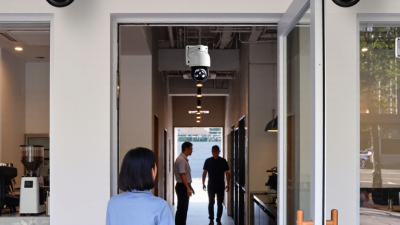
Choosing the best CCTV camera for your business begins with the areas you need to monitor. Dome cameras suit indoor spaces such as reception desks and shop floors. Their low-profile shape makes it harder to tell which direction they face. Bullet cameras are more visible and work well outdoors, especially when watching entrances or loading bays. Check that the camera is rated for local weather and can handle changing light.
For broad areas, a pan-tilt-zoom camera can follow activity across a car park or warehouse. It costs more and needs careful setup; a fixed camera may be more dependable for a doorway. Turret cameras are useful in dim corridors because they can reduce glare from nearby surfaces. Still, no camera type solves every problem. Test views at night, and check for blind spots caused by shelves, signs, or bright windows.
Tips: Sketch your floor plan and mark each camera’s view before buying. Compare image detail, night performance, storage needs, and network requirements. A clear view of a cash desk may matter more than covering every corner. I have found planning often takes longer than expected, and the first layout may need adjustment.
Clear footage starts with the scene you need to monitor. A wide entrance may need a broad view, while a checkout area needs enough detail to distinguish faces and actions. Pixels are not everything. Check resolution alongside lens angle, sensor performance, and backlight handling. Stand where a person might approach, then see whether important details remain visible.
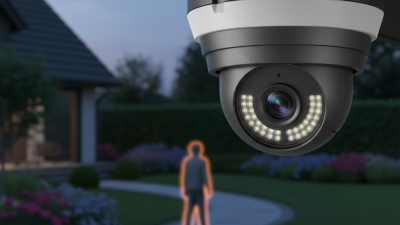
Night vision deserves a real-world test, not just a specification sheet. Walk the camera’s coverage area after dark and look for shadows, glare, or faces washed out by infrared light. Glass can reflect infrared illumination, so indoor placement near windows may reduce clarity. Rain, dust, and nearby signs can also affect the picture. Small details matter.
Storage choices affect both cost and usefulness. Estimate how many cameras will record, at what quality, and for how long; continuous recording uses more space than motion-based recording. Motion detection can miss events or trigger on moving branches, so review sample footage before relying on it. Connectivity matters too. Check that the network can carry several video streams without slowing other business systems. A wired connection may be steadier, while wireless placement can be easier but less predictable. I would not assume the strongest signal today will stay strong after equipment or shelving changes.
Before comparing image quality, check the privacy rules that apply to your workplace. Requirements can vary by location and business type, so confirm current guidance with a qualified adviser. Aim cameras at entrances, tills, and stock areas—not desks or staff break spaces. If recording could capture a neighboring property or public area, adjust the angle and review the need for that view. Audio recording may raise additional concerns. Make sure people receive clear notice where required, and set a retention period that fits your needs.
Tips: Test the camera’s view at different times of day. Check whether your existing recorder, network, and cabling support the camera’s resolution and power needs. Ask how footage can be exported before you buy.
Protect recorded data with unique staff accounts, strong passwords, and multi-factor authentication where available. Limit access to people who need it, and review permissions when roles change. Choose a system with encryption, security updates, and clear options for deleting old footage. Keep the recorder in a locked room, and include data access in your incident plan. No checklist catches everything. A compatibility test can still reveal a surprise, so try one camera with your current setup before expanding.
The purchase price is only part of a CCTV system’s cost. Compare cameras, recording equipment, storage, cabling, and any setup fees together. A low-cost camera may need extra lighting or a larger recorder to cover a dim loading bay. That adds up. Ask for a written estimate that separates one-time costs from recurring charges, such as cloud storage or software support.
Installation needs depend on the building. Wired cameras often provide steady connections, but cable runs through ceilings or brick walls can increase labor costs. Wireless models may be easier to place, yet they still need reliable power and a strong network signal. Walk the site at different times of day. Check views of entrances, checkout areas, and dark corners, while avoiding unnecessary coverage of private spaces. Small details matter.
Plan for upkeep before choosing a system. Lenses collect dust, cables can loosen, and recording capacity can fill sooner than expected. Set a regular schedule to clean lenses, check image quality, test backups, and confirm that recordings are accessible. Ask who handles repairs and how quickly they respond. Not always. A simple maintenance plan can prevent a small fault from leaving a blind spot for weeks. Compare the full cost over several years, and leave room in the budget for replacement parts. A tidy estimate can still miss real-world needs.
| Camera option | Best suited for | Typical hardware cost per camera (USD) | Typical installation cost per camera (USD) | Installation needs | Ongoing maintenance | Key trade-offs |
|---|---|---|---|---|---|---|
| Indoor fixed dome IP camera | Retail floors, offices, reception areas, and corridors | $80–$250 | $100–$300 | Requires a suitable mounting point, network connection, and power. A PoE model can receive power and data through one Ethernet cable. | Clean the lens and housing periodically; check focus, recording, and firmware; replace or upgrade equipment as needed. | Generally unobtrusive and practical for fixed views, but it cannot remotely pan or zoom to follow activity. |
| Outdoor fixed bullet IP camera | Entrances, loading areas, parking lots, and building perimeters | $100–$350 | $150–$400 | Needs a secure exterior mount, weather-resistant cable routing, and a network connection. Installation may require a lift or ladder for elevated positions. | Remove dirt, insects, and water spots from the lens; inspect seals, mounts, and cable entries; verify night images and recording. | Designed for visible, fixed-area monitoring; performance depends on placement, lighting, and weather protection. |
| Pan-tilt-zoom (PTZ) IP camera | Large yards, warehouses, and areas where staff need to adjust the viewing direction | $300–$1,500 | $300–$800 | Requires a stable mount, network and power, and configuration of movement limits and presets. Higher mounting positions can increase labor costs. | Test pan, tilt, and zoom functions; inspect moving parts and mounts; update firmware and review presets regularly. | Covers a wide area when actively controlled, but a single PTZ camera cannot capture every direction at the same time. |
| Wireless IP camera | Small sites or locations where running data cable is difficult | $80–$300 | $75–$250 | Needs reliable Wi-Fi, power, and a suitable mounting point. A site survey can help identify weak signal areas and interference. | Check Wi-Fi strength, power supply, recording status, and firmware; confirm that recordings are retained as intended. | Can reduce data-cabling work, but still needs power and may be less reliable where wireless coverage is poor or congested. |
| Analog HD camera with DVR | Businesses upgrading an existing coaxial-camera system | $40–$180 | $100–$300 | Typically uses coaxial cabling to a DVR. Existing cable condition and recorder compatibility should be checked before installation. | Inspect cable connections and power supplies; check DVR storage, recording schedules, and playback; replace aging drives when necessary. | May reuse existing cabling, but system expansion and remote access depend on the DVR and available infrastructure. |
Cost note: These are indicative U.S. dollar ranges for typical equipment and per-camera installation, not fixed quotes. Actual costs vary with camera resolution, site conditions, cable runs, mounting height, labor rates, recording equipment, storage, and network requirements. They exclude ongoing internet, cloud-storage, and monitoring fees.